How to Convert Any Low-Quality Photo into 4K Ultra HD Using This Secret App
Hey guys! 👋 In today’s post, I’m going to share a secret AI photo enhancement trick that lets you convert any low-quality photo into a 4K Ultra HD image — in just one click! Whether your photo is pixelated, blurred, or compressed, this method can bring it back to life with amazing clarity and color. So, let’s dive right in!
What You’ll Learn in This Guide
- How to improve your photo quality to 4K resolution
- The best free app to enhance blurry or pixelated photos
- Step-by-step guide to use the AI tool effectively
- Bonus tip: how to fix faded colors automatically
App You’ll Need: The Secret AI Photo Enhancer
To follow along, you’ll need to install an AI-based photo enhancer app from the Play Store. You can simply search for “AI Photo Enhancer” or “Remini AI” and install the one that matches the preview you’ll see in this post.
This app uses artificial intelligence to restore lost details, sharpen faces, and make your photos look like they were shot with a professional DSLR camera.
Step-by-Step: How to Enhance Photo Quality
Step 1: Open the App
Once installed, open the app. You’ll see a simple interface with a “Continue” or “Start” button. Tap it a couple of times until it brings you to the main enhancement screen.
Step 2: Choose “Enhance Quality” Option
Now, select the “Enhance Quality” mode. You may see a few premium options, but don’t worry — we’ll be using the free version only. Just skip any payment requests or ads that pop up.
Step 3: Upload Your Low-Quality Photo
Next, choose any photo you want to enhance. For this tutorial, I tested two sample photos — both were low-resolution and blurry. After uploading, make sure your mobile data or Wi-Fi is turned on because the app processes your image online using AI servers.
Step 4: Let the AI Do Its Magic
After uploading, wait for a few seconds while the app works on your photo. Once completed, you’ll see a preview — and trust me, the difference is unbelievable! The AI adds missing details, smoothens textures, and sharpens edges. You’ll even notice individual hair strands and realistic skin tones.
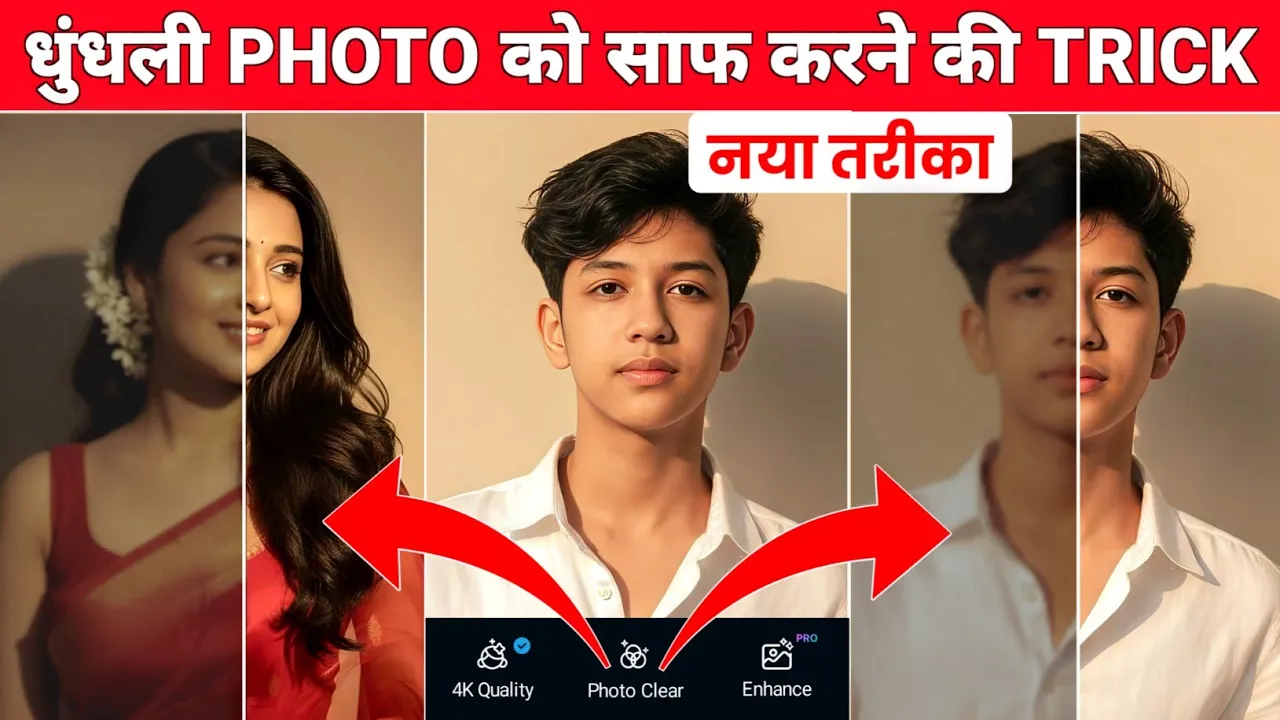
Before and After Results
To test how powerful the app is, I compared the before and after results side by side. The output image looked stunning — every detail was crisp and clear. Even the lighting and depth felt more natural. The AI not only enhanced sharpness but also restored colors that were previously faded or dull.
If you zoom in, you can literally see how much improvement it makes. From facial details to color balance — everything looks perfectly refined!
Fixing Colors with “Enhance Color” Option
Now that your photo looks sharp, let’s talk about color correction. Inside the app, you’ll also find an option called “Enhance Color” (usually at the bottom of the tools). Tap on it, wait a few seconds, and the app will automatically restore the original natural colors of your image.
If the first enhancement slightly changes the tones, this step will bring them back perfectly — giving your photo both sharpness and natural color balance.
Saving the Final Image
Once you’re happy with the result, just tap on the Save button. The image will automatically be downloaded and saved in your gallery in 4K Ultra HD format.
Enhancing Another Photo (Optional)
You can repeat the same steps for any other photo. Every time you upload a new image, the app might show a short ad, but just watch it and move ahead — it’s worth it for the quality you’ll get.
I tested another photo, and again, the result was mind-blowing. The clarity, color, and small details were all enhanced so beautifully that it looked like it was clicked on a professional camera.
Bonus Tip: Change the Color Tone
If you want to add a creative touch, you can also adjust the color tone of your enhanced photo. Go back to the preset options and apply one of the filters the app provides. These filters can make your photo look cinematic, vibrant, or even vintage — depending on your preference.
Once satisfied, tap Next → Save to store the edited version on your device.
Why This AI App is So Powerful
The reason this app stands out is because it uses deep learning technology — specifically GAN (Generative Adversarial Networks) — to intelligently reconstruct lost pixels. Instead of just sharpening the image, it rebuilds missing details to make your photo look natural and lifelike.
It’s the same kind of AI that powers popular tools like Remini or Let’s Enhance, which are used by photographers and content creators worldwide.
Final Thoughts
So guys, that’s how you can easily convert any low-quality image into 4K Ultra HD using this free AI photo enhancer app. It’s quick, simple, and incredibly effective — no need for expensive software or professional editing skills.
If you found this tutorial helpful, don’t forget to like this post and subscribe for more AI editing tricks and photography tips. You can also check out my other guide on creating trending AI photos using Canva and Gemini AI.
Watch Next:
👉 How to Create Trending AI Photos Like Instagram Creators
👉 Best Free AI Tools for Editing 4K Portraits
Try this method today and surprise yourself with the results! 💡