Complete Instagram Edits App Video Editing Tutorial (Beginner to Advanced)
Hello guys! How are you all doing? In today’s guide, I’ll show you step by step how to edit videos using the Instagram Edits application. This is a complete tutorial where we will go from basic editing all the way to advanced level edits.
By the end of this post, you’ll know:
- How to cut and trim unwanted clips
- How to add slow-motion effects
- How to apply color grading and filters
- How to add trending music
- How to use transitions between clips
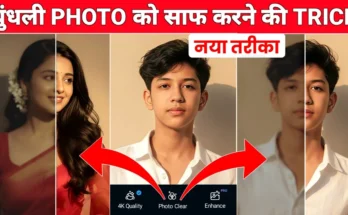
- How to remove video backgrounds
- How to restyle and convert your videos into animated/cartoon styles
- How to add captions, overlays, stickers, and effects
Step 1: Download and Open Instagram Edits App
Go to the Google Play Store, search for “Edits” and install the official Instagram Edits app. Once installed, open the app and you’ll see a simple interface with a “+” button to start your project.
Step 2: Import or Record Your Video
You can either record directly from the app using the camera or import an existing video from your gallery. Once selected, the video will appear in the editor ready for customization.
Step 3: Basic Video Editing (Cuts & Trimming)
To remove unwanted parts, click on your video timeline and use the Split option. This lets you cut sections and delete unnecessary clips. It’s useful for removing boring parts or mistakes from your video.
Step 4: Adding Trending Music
Click on the Audio option. Because the app is linked with Instagram, you’ll find a list of trending music directly available. You can also import your own music from your device. Once you choose a song, simply add it to your video timeline.
➡️ Pro Tip: Use trending music to boost your reel’s visibility. Check out Google Trends to see what’s currently popular.
Step 5: Adding Text & Fonts
Want to add stylish text overlays? Just click on Text, type your message, and choose from various fonts and colors. You can also apply effects like glow, pop-in animations, and text transitions to make it stand out.
Step 6: Adding Captions (Auto CC)
The Edits app has an amazing Auto-Caption feature. It generates subtitles automatically, just like you see in popular Instagram Reels or YouTube Shorts. You can customize fonts, colors, and background styles for a professional look.
Step 7: Using Overlays, Stickers & Keyframes
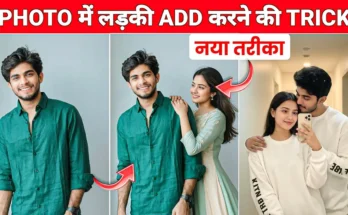
Want to add extra elements? Use the Overlay option to insert images, logos, or graphics. You can animate them using Keyframes. Stickers are also available—search for trending ones and place them anywhere on your video.
Step 8: Background Removal & Replacement
The Cut Out tool is very powerful. It removes your video background and lets you replace it with another image or video (like a nature background or animated scene). This is similar to using a green screen effect.
➡️ You can also try tools like Remove.bg for professional background removal.
Step 9: Adding Slow Motion
Select your video, click on Speed, and reduce it to create a smooth slow-motion effect. To apply it to specific sections, split your video first and then apply slow motion only where needed.
Step 10: Transitions Between Clips
Transitions make your video flow smoothly. Choose from options like Zoom, Blur, or Fade to connect two clips. Apply the one that suits your style best.
Step 11: Color Grading & Filters
Go to Adjust & Filter. Here you can apply professional color grading with just one click using filters. You can also manually adjust brightness, contrast, temperature, and saturation for a cinematic effect.
➡️ If you want advanced inspiration, check out Adobe Premiere Pro or DaVinci Resolve.
Step 12: Restyle Your Video
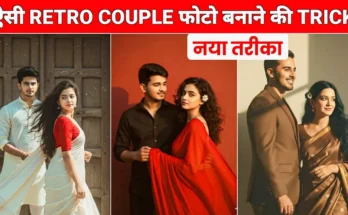
One of the coolest features in the Edits app is Restyle. You can convert your normal video into an anime, cartoon, or 3D animation. It even changes backgrounds like snow, fire, or fantasy effects automatically. This gives your video a completely unique vibe.
Step 13: Effects & Layers
Though not as advanced as CapCut, the Edits app still provides useful effects like Blur, Zoom, and Triple-Layer edits. These add an extra level of creativity to your reels.
Step 14: Exporting Your Video
Once editing is complete, just hit Export. The video will be saved directly to your device, ready to be uploaded on Instagram, YouTube Shorts, or TikTok.
Final Thoughts
The Instagram Edits app is a powerful yet easy-to-use tool for beginners and advanced editors. Whether you want to create engaging Instagram Reels, add trending music, or completely restyle your video into a cartoon—this app has everything.
If you want to level up your editing game, don’t forget to also explore:
I hope this complete tutorial helps you create better and more professional videos for Instagram and beyond. 🚀