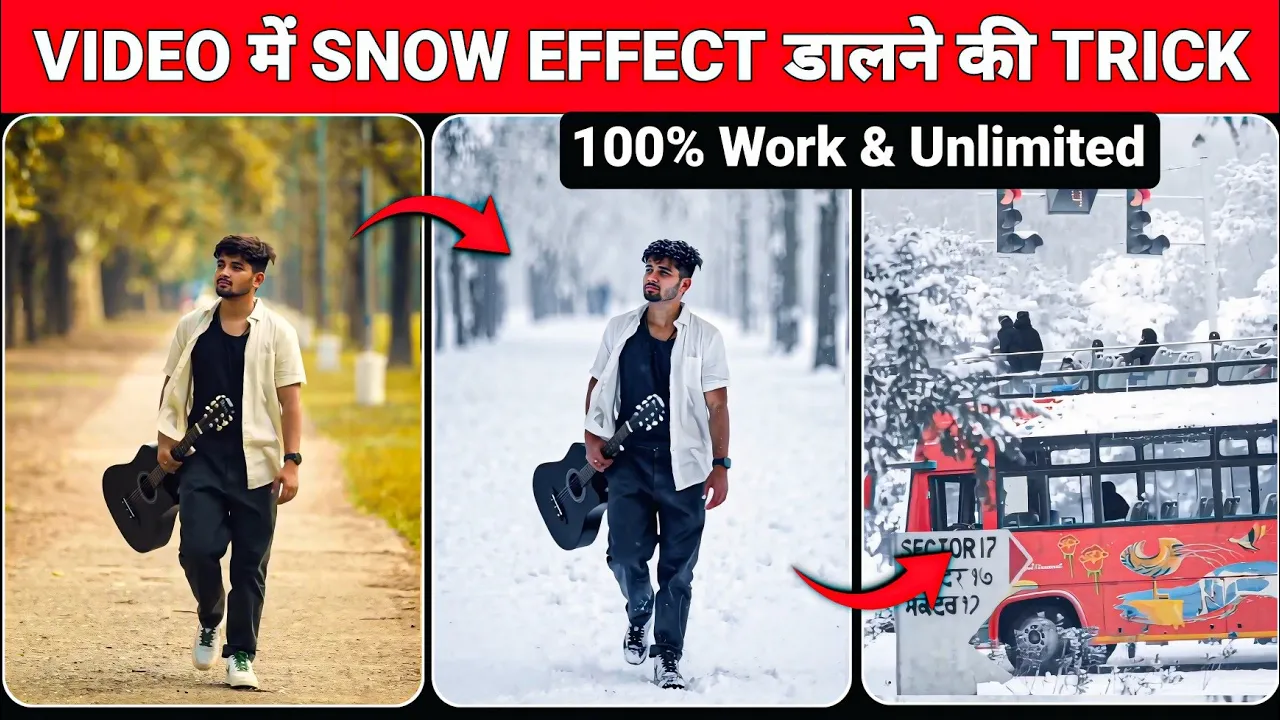
How to Add a Realistic Snowfall Effect to Any Video for Free (Step-by-Step Tutorial)
Hey guys! In today’s post, I’ll show you how to add a beautiful snowfall effect to any normal video in just one click. Right now, these kinds of snowfall-style videos are going viral everywhere on Instagram Reels and YouTube Shorts. So if you want your videos to look cinematic and trendy — this guide is for you!
Let’s start the tutorial. Make sure to like and subscribe if you enjoy learning creative video effects!
Step 1: Download the Free Video Editing App
First, you’ll need a simple and free video editing app available on the Google Play Store. Just search for the app mentioned in the video and install it. It’s lightweight, beginner-friendly, and works perfectly for adding trendy AI effects.
Step 2: Import Your Video Clip
After installing the app, open it and add your video — any normal clip will work. Many people face an issue where the effects don’t appear, but don’t worry — I’ll explain how to fix that too.
Step 3: Go to the ‘Restyle’ Option
Once your video is added, tap on it and then click the ‘Restyle’ option. This feature allows you to apply AI-generated filters and trending effects instantly.
However, some users might get a message saying that only a 10-second clip can be styled. That’s okay — you just need to cut your video into smaller clips. Select the portion (up to 10 seconds) where you want to add the snowfall effect.
Step 4: Apply the Snowfall Effect
After selecting your 10-second clip, click on it again → go to ‘Restyle’ → and scroll through the trending AI styles. You’ll find several viral options, but choose the one that looks like ‘Snowfall’ or ‘Winter Scene’.
Tap on it and wait for a few seconds. The app will automatically process the video and add the snowfall effect in high quality. Make sure your mobile data or Wi-Fi is turned on during this step, as the AI needs an internet connection to apply the style.
Pro Tip: Best Time to Use the App
It’s recommended to try this late at night or during hours when fewer users are online (for example, around midnight). That’s when the app’s servers are less busy and the effect renders faster and more smoothly.
Step 5: Export and Save Your Video
Once the snowfall effect is added, play your video to check the result. You’ll notice a realistic, high-quality snowfall animation perfectly blended with your original footage — almost like it was shot in a real snowstorm!
If you’re happy with it, simply click the ‘Export’ or ‘Save’ button to download your edited video. You can now upload it directly to Instagram Reels, TikTok, or YouTube Shorts.
Troubleshooting Tips
- If the effect doesn’t appear, make sure your app is updated to the latest version.
- Try using a shorter clip or switching to Wi-Fi if it’s taking too long to load.
- Clear the app cache if it freezes during rendering.
Final Thoughts
And that’s it, guys! With just a few clicks, you can transform your normal videos into cinematic snowfall scenes that look completely professional. This trick works great for romantic edits, travel clips, or cozy winter-themed reels.
If you found this tutorial helpful, don’t forget to subscribe to our channel and leave a comment below about what effect you’d like to learn next. For more editing tips, check out CapCut and PhotoRoom — two great tools to boost your editing creativity.
Happy editing, and stay creative!